|
Dear Aviators,
I know you have been waiting a very long time for the exciting prospect of flight, and I promise to not disappoint in the next week. Stay tuned, and keep your eyes on the skies. Disaster or triumph awaits us behind the corner of this weekend and either way, it will be SPECTACULAR. Sincerely, Cap'n Louie
0 Comments
 Ladies and Gentlemen,
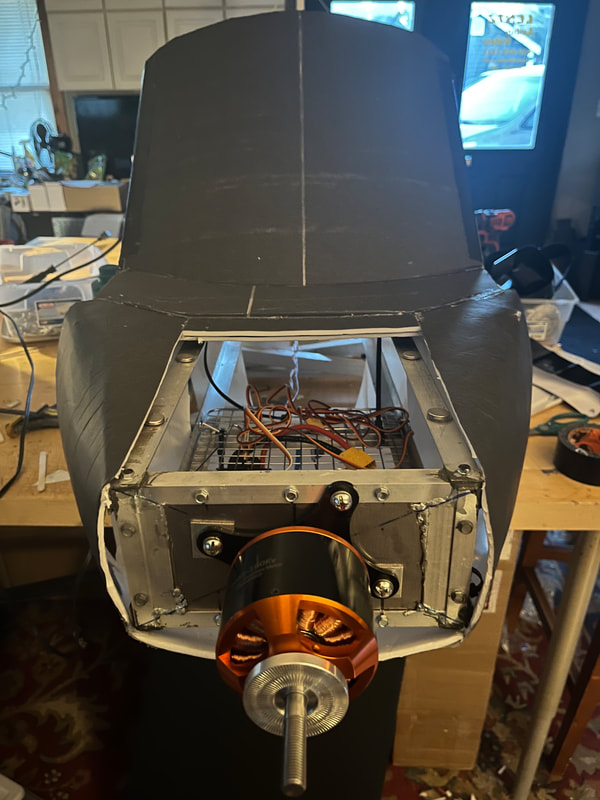
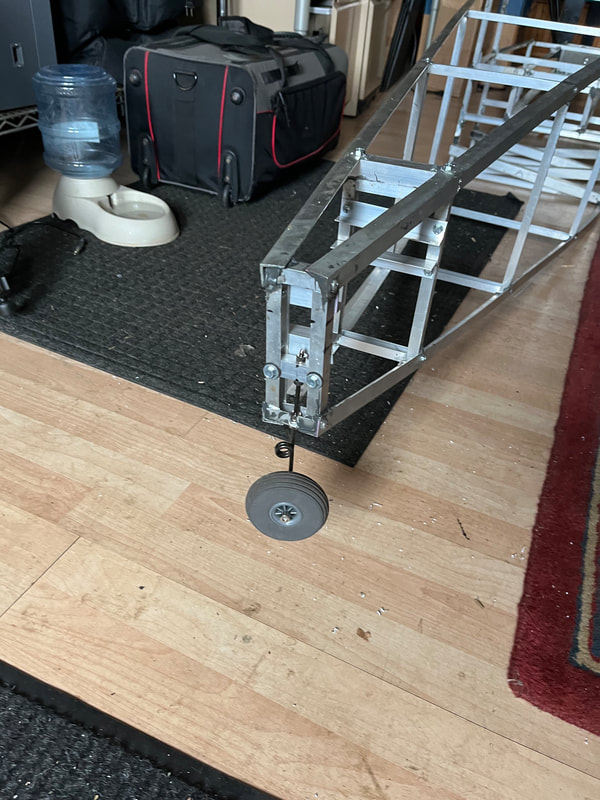
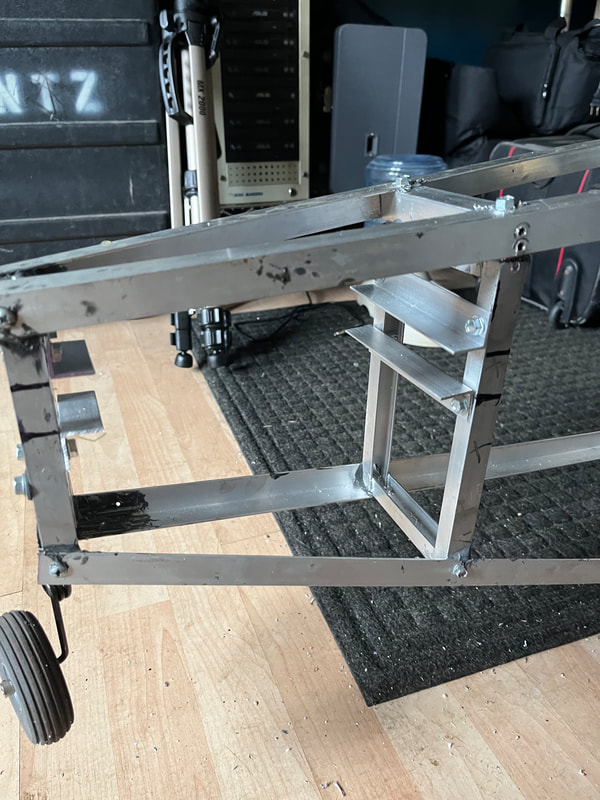
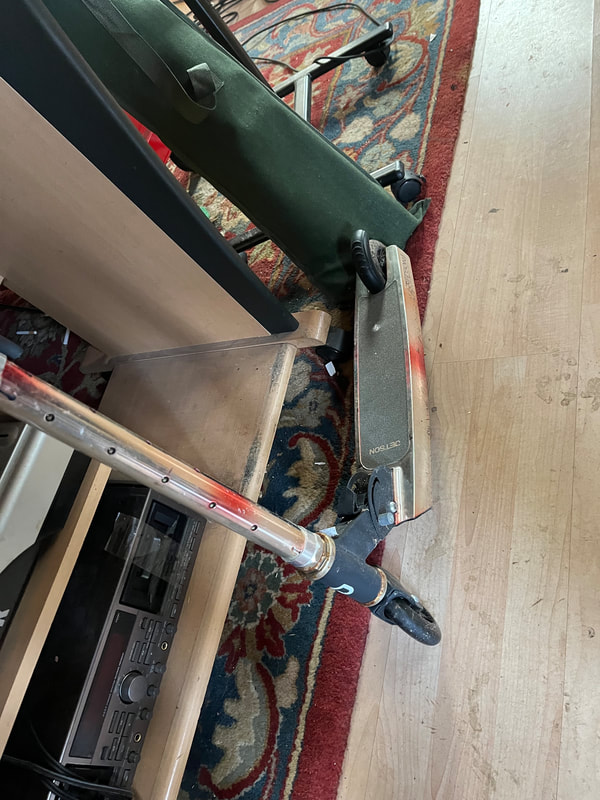
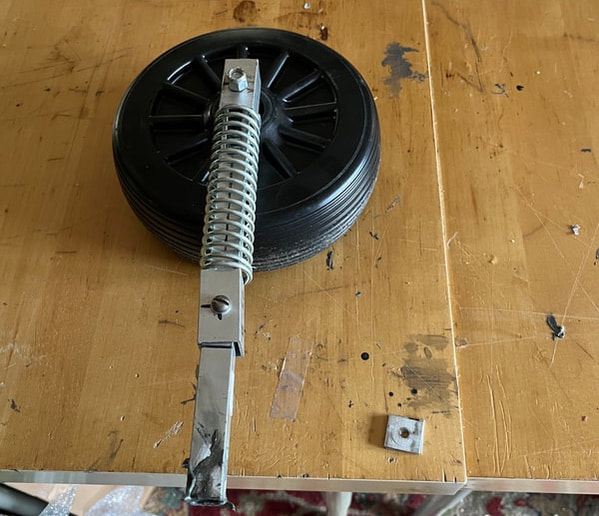
Tragedy has struck. Upon testing and trouble-shooting our high-rpm motor issue, your very own captain, while attempting to "break" (as in loosen) the bolt holding the propellor to the airplane, put intense stress on the wheels by pushing the plane into the ground and broke this landing gear from the spar of the wing. The motor issue has improved, but we now have a whole other problem on our hands. The next steps will be to reinstall this landing gear to the spar and then doubly reinforce it. This should fix our current problem while also help the plane track straight on the ground. I know that the prospect of FLIGHT is exciting, but sometimes to make progress you must first recognize that there is more work to be done. Until the next (hopefully) more uplifting post, Capt. Louie G'day aviators,
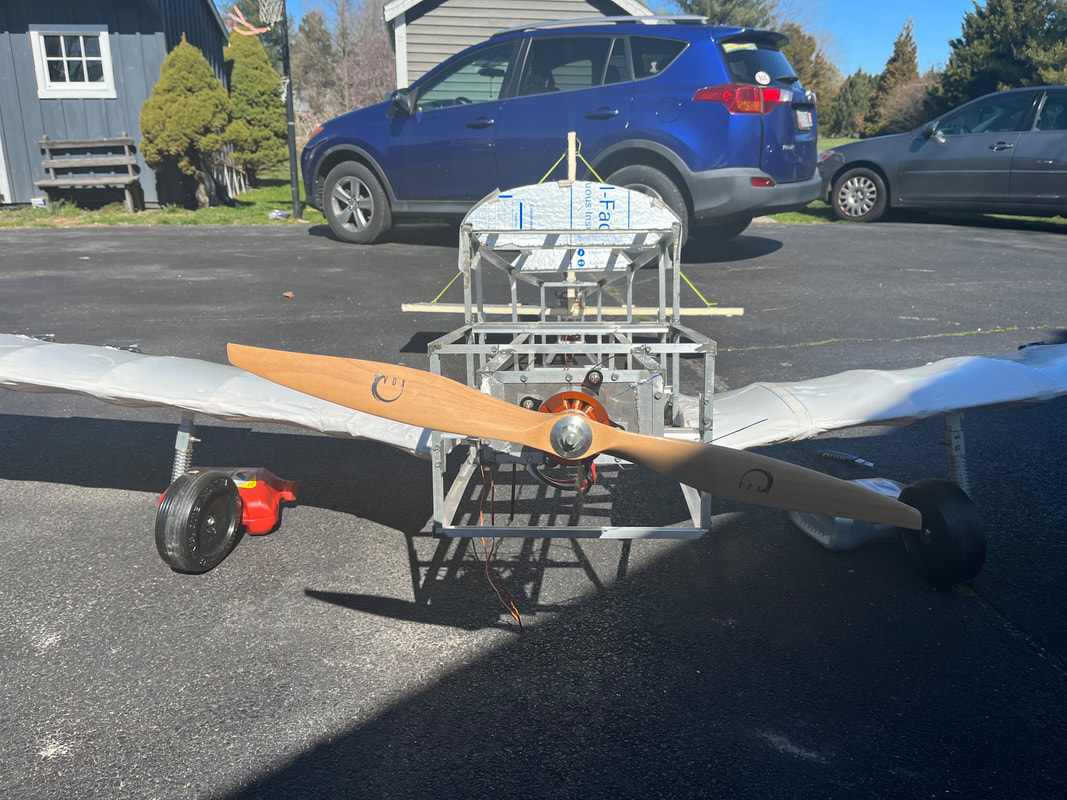
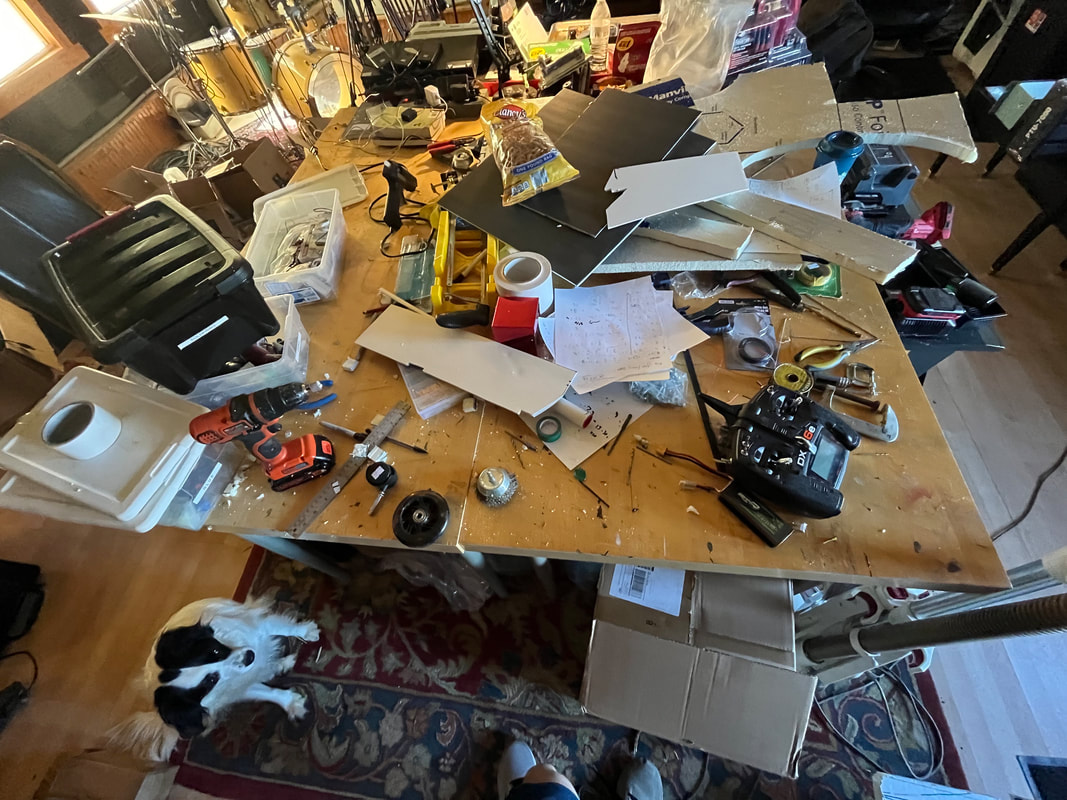
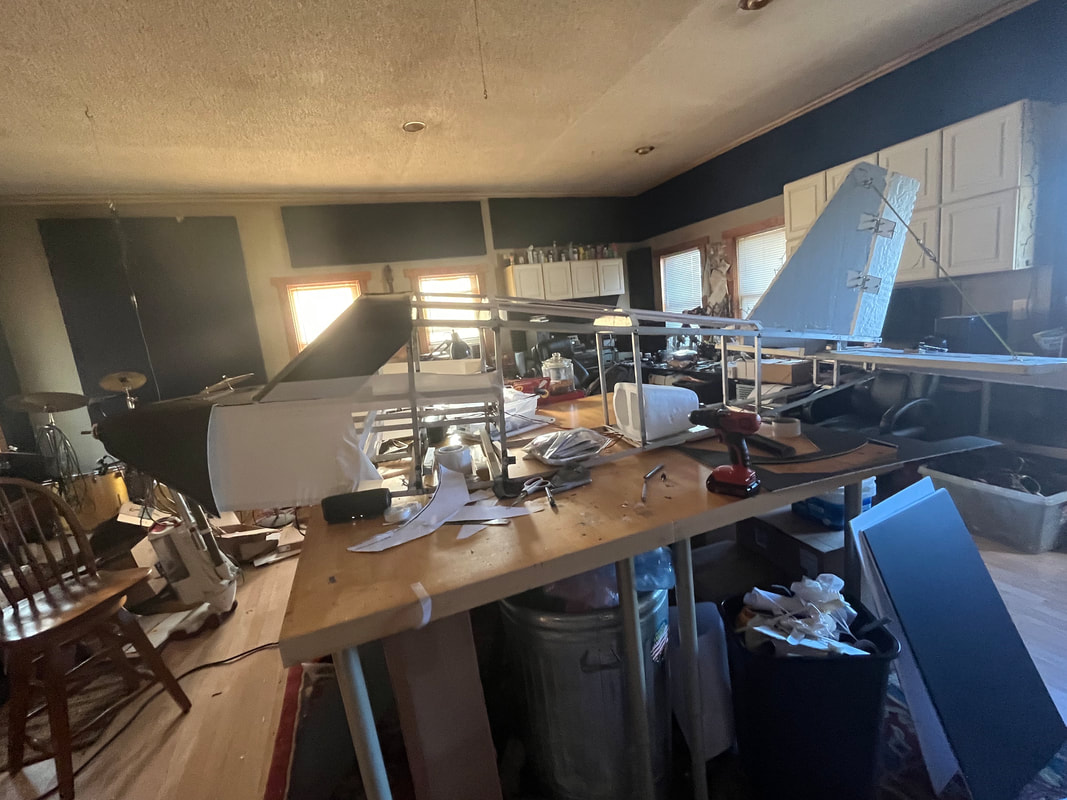
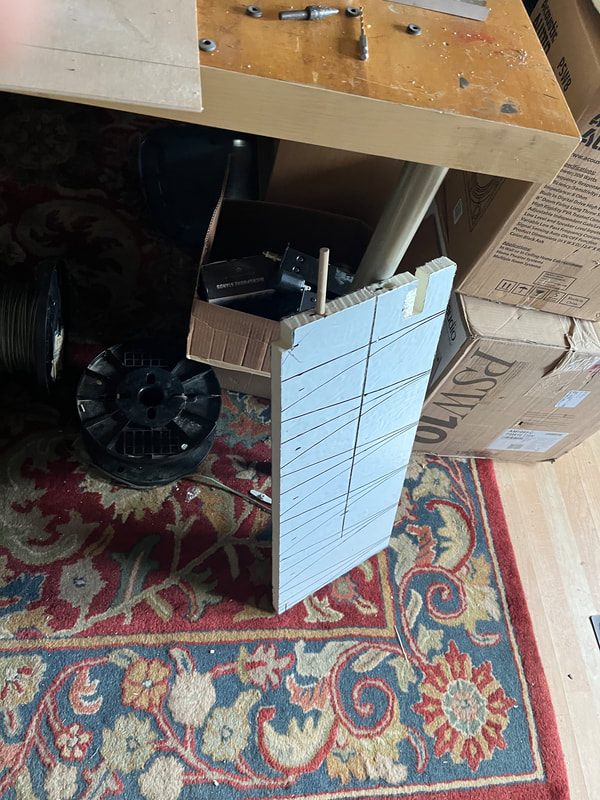
Today there are no exciting pictures for the blog post (as most work in the past weeks was included in the Spring-Break update). However, I did manage to run a CRUCIALLY important ground test of the plane to see how it handled out "in the field" AND, apart from the following unforeseen obstacles which emerged from the experiment, we are just about ready to take to the skies!! - Motor Vibrations past 80% throttle - Locked Tailwheel position at low speeds - Elevator reinforcement strength The plan is to work through each of these problems one at a time until each is resolved and we have an air-worthy product (motor inspection and replacement or chassis reinforcement, a rudder-steered tailwheel, and aluminum additions to the elevator are potential solutions in the works). As for now, please check out the progress page to see a video of part of the ground test!! Until the next post, Cap't Louie 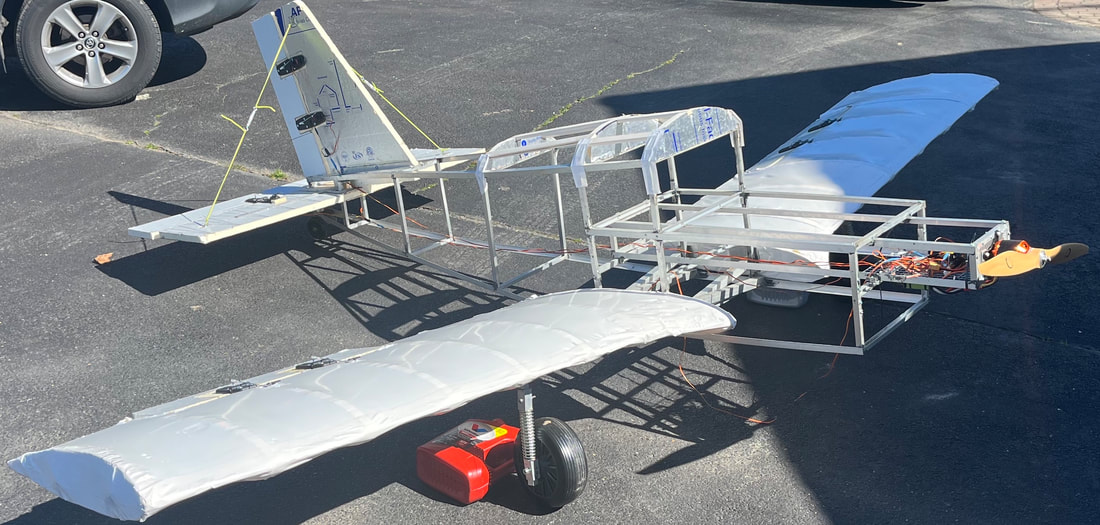 Dear aviators,
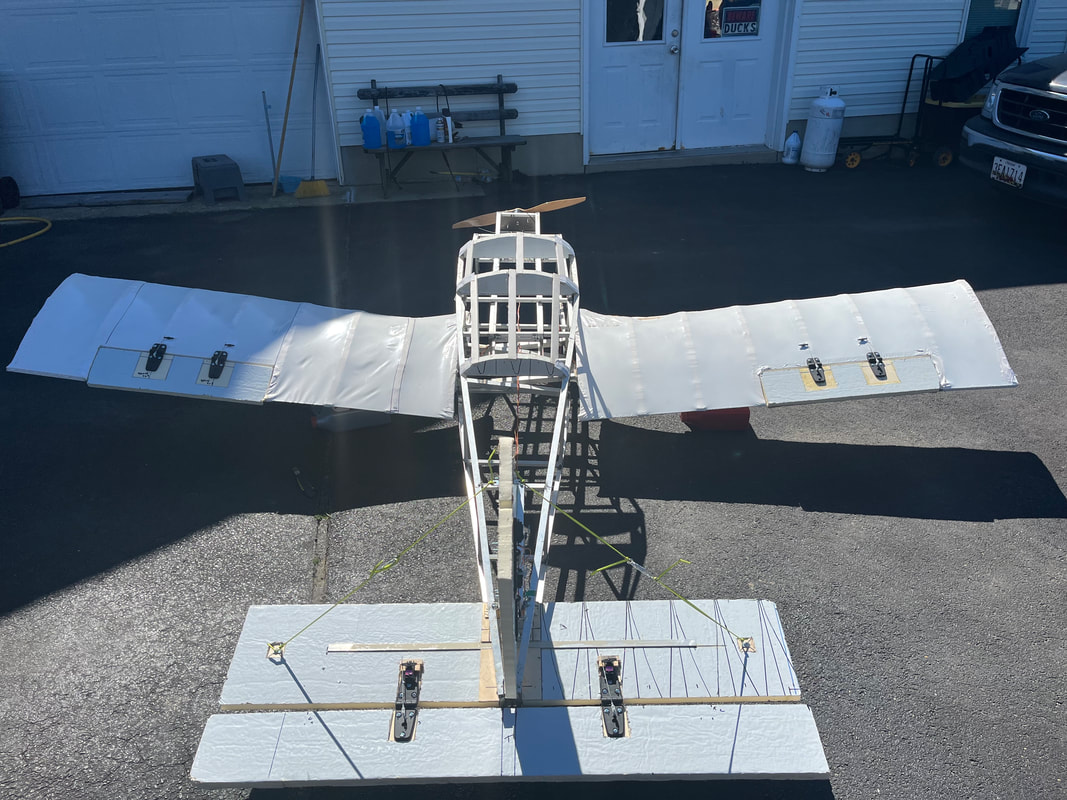
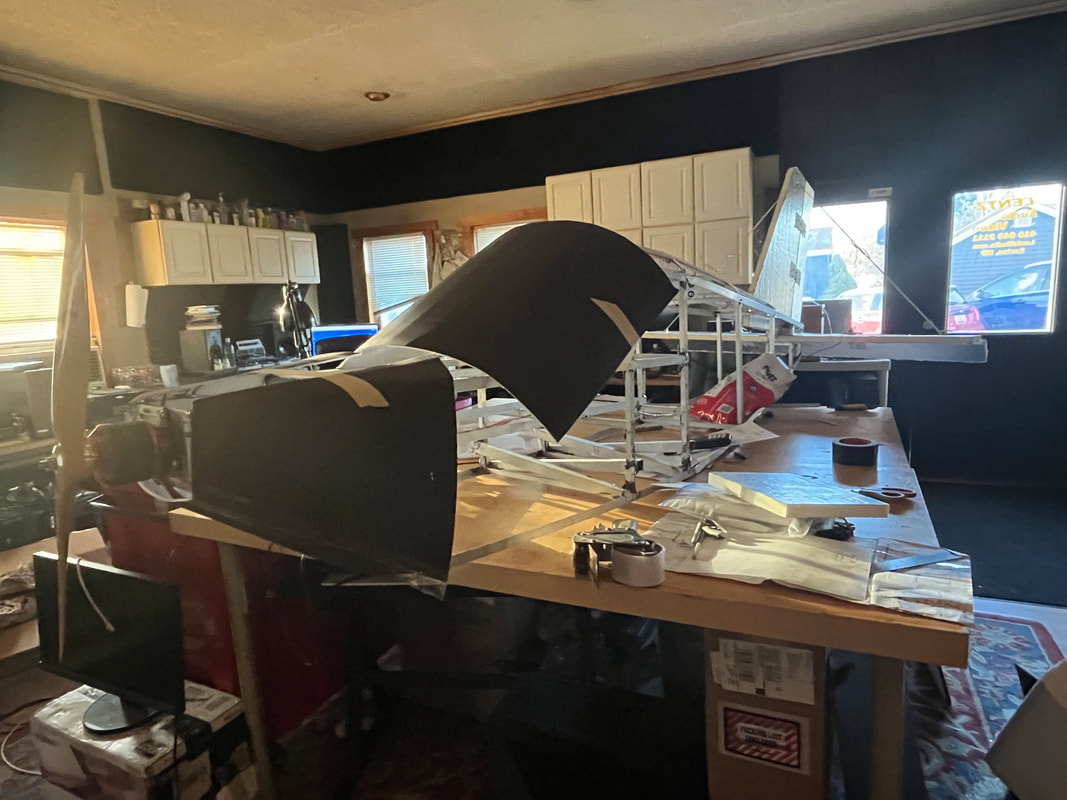
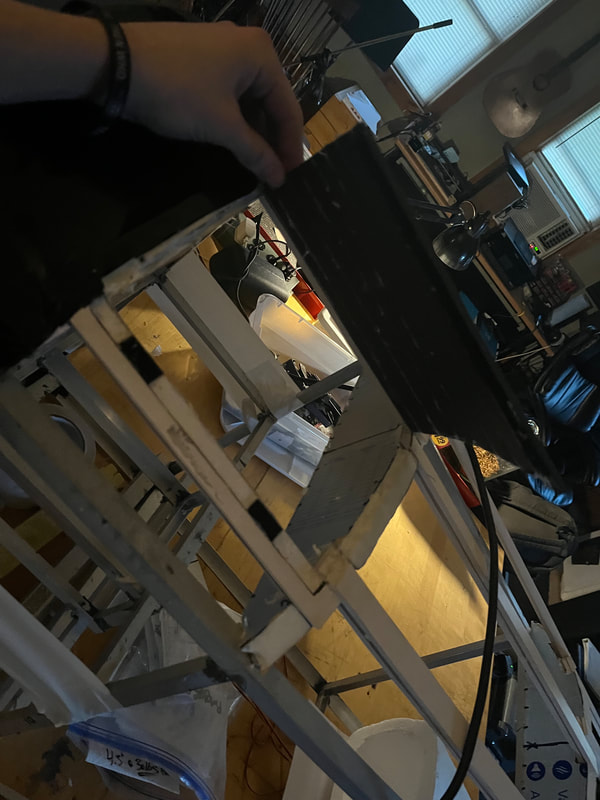
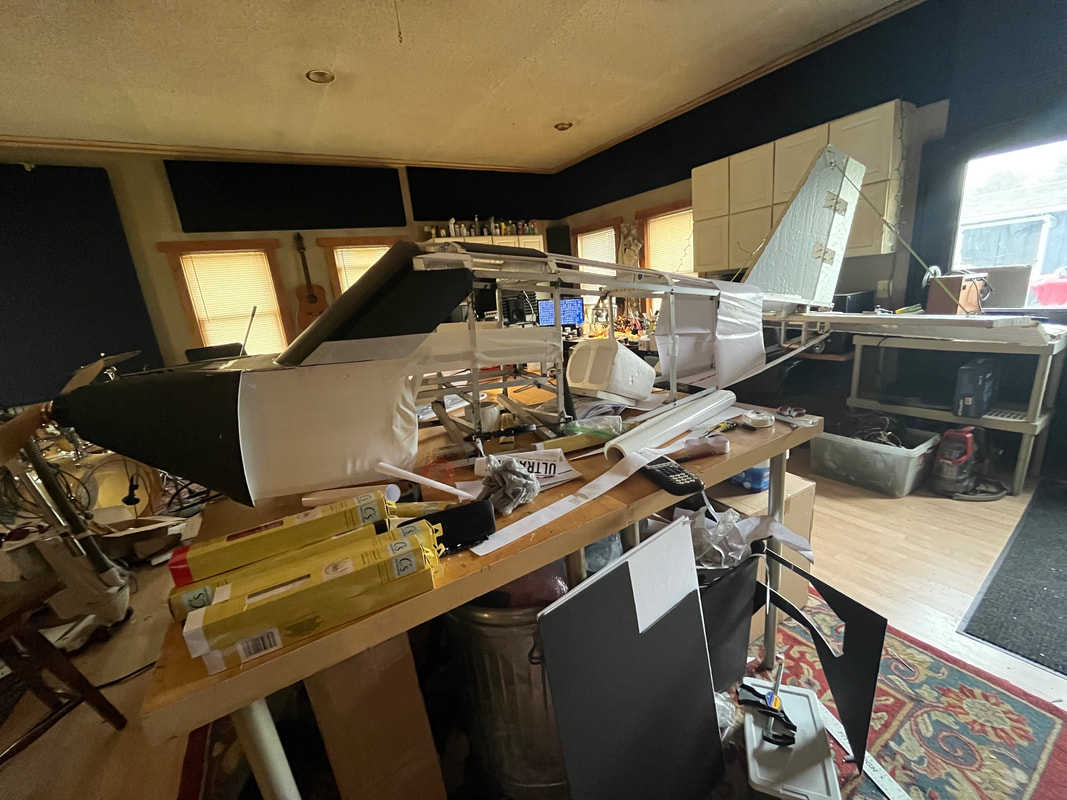
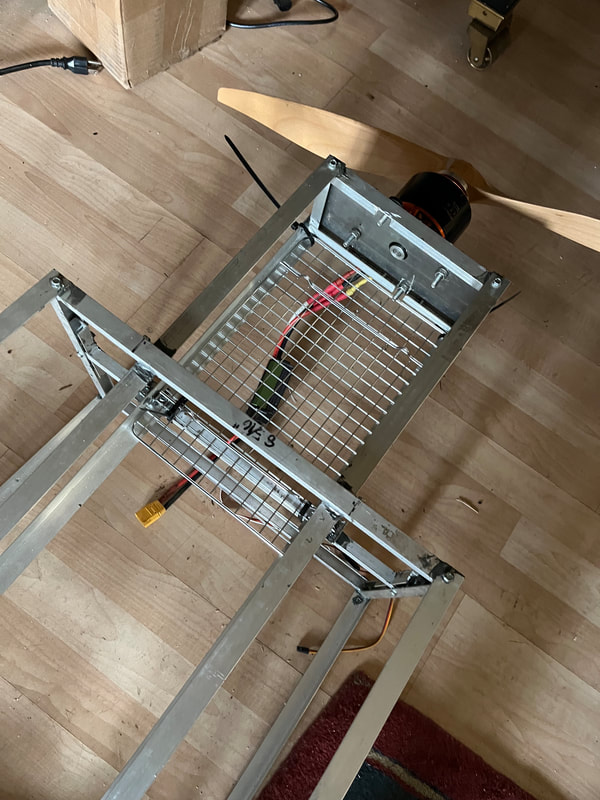
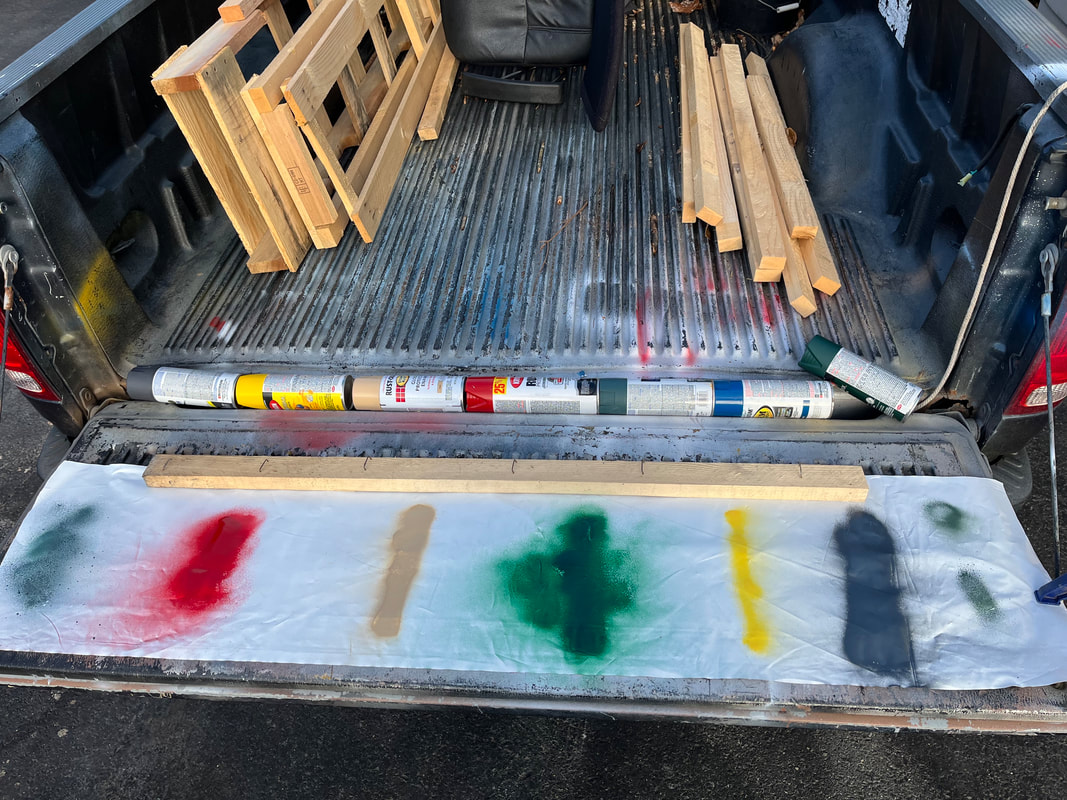
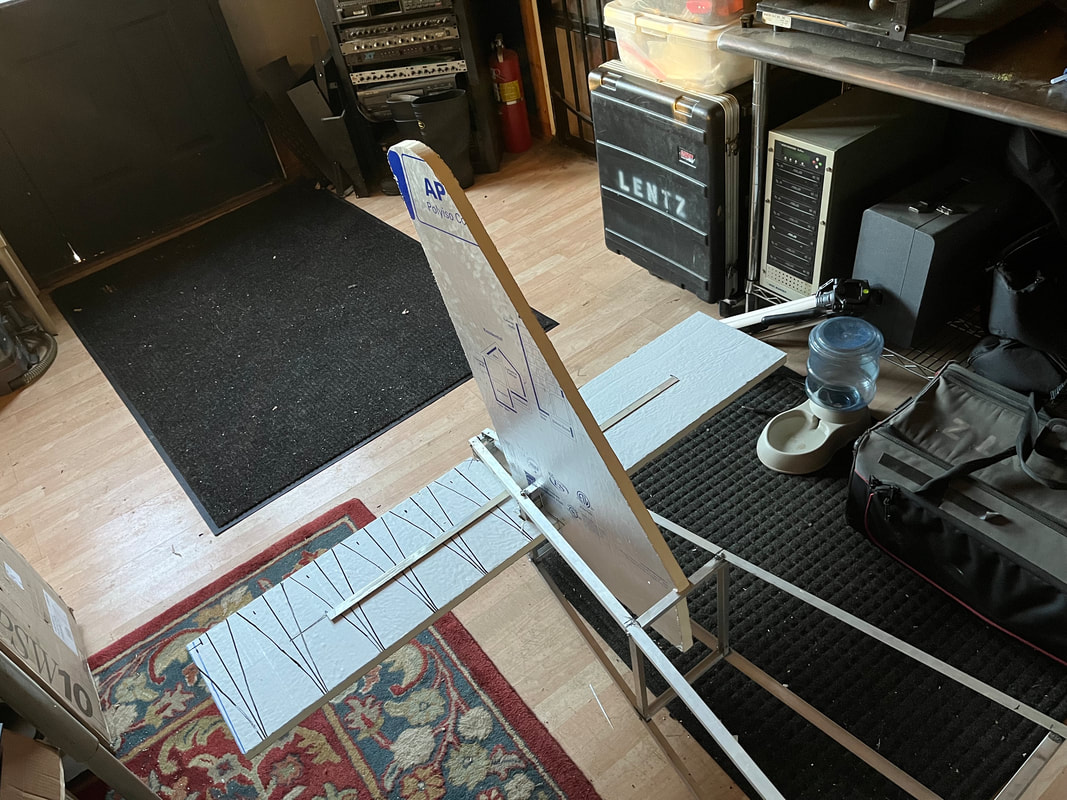
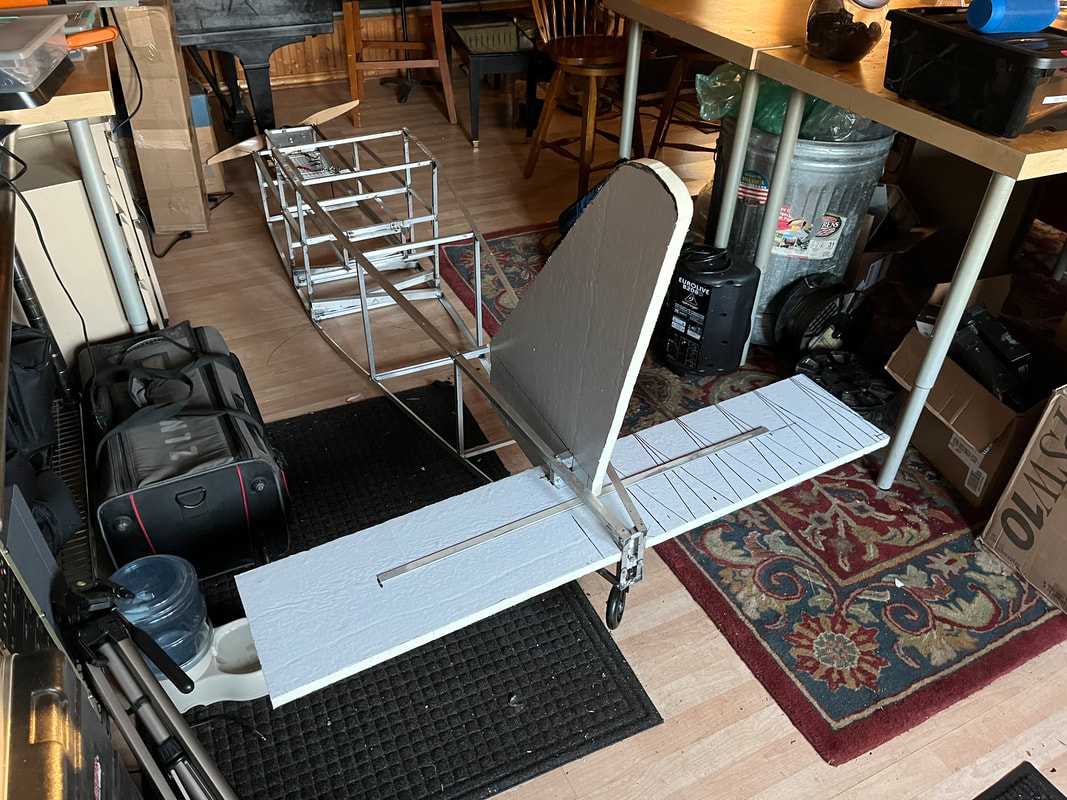
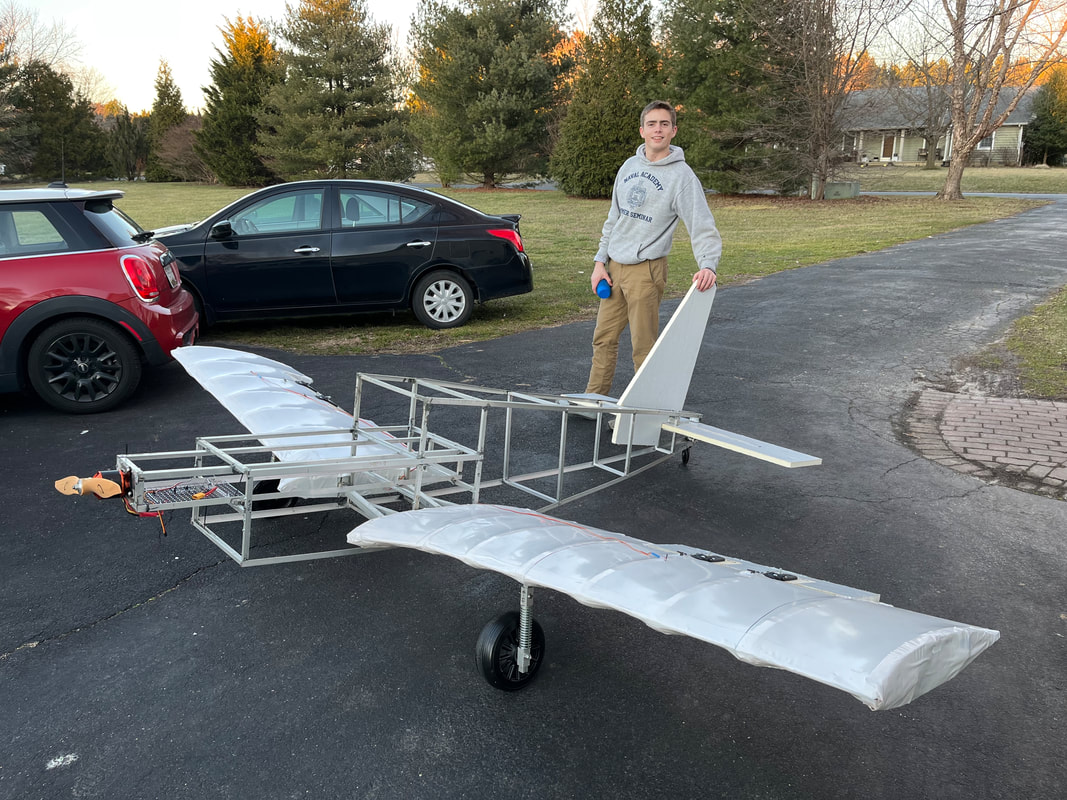
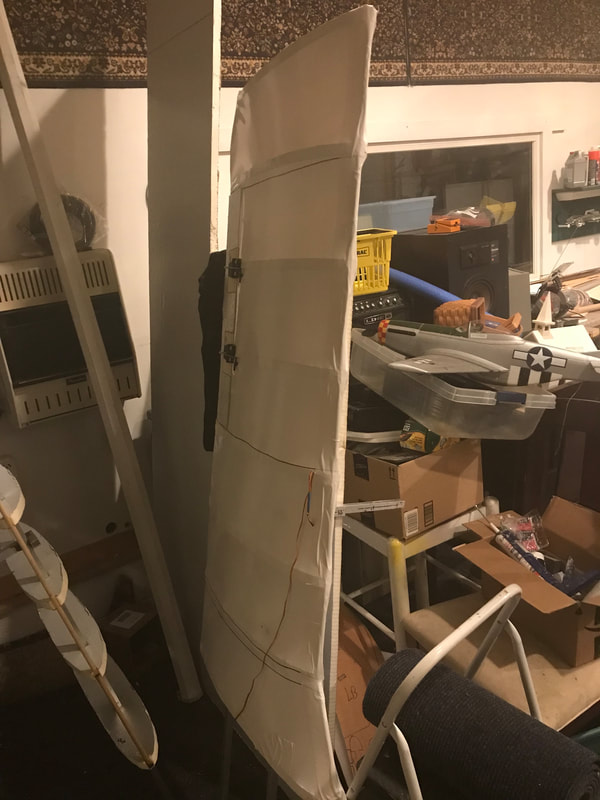
With the latest functional installment to the empennage, we are, finally, ready to take to the skies. We have: - A VERY functional 1/3-scale prototype - A VERY strong aluminum frame - A VERY powerful electric thrust source - A VERY wide wingspan of 14' - FOUR VERY reliable control surfaces - A VERY advanced receiver and transmitter setup AND . . . - TWO VERY reliable, strong stabilizers With these ingredients, we have everything necessary for theoretical flight. HOWEVER, we are still not quite ready for the maiden voyage. We are in the covering and painting phase with the goal (set for the end of Spring Break) to fully cover and paint the plane (with a WWII F4U design drawn by our very own Finn Fries). After we are done covering and painting, the only thing between us and the clouds are: 1. Time 2. The Final Checklist Once all the bolts are checked for proper tightening, the suspension system is greased up once more, the plane has undergone every ground test we can think of, the I's are dotted, and the t's are crossed, we will pick an official day and location for the flight (with minimal wind). Stay up there, - Cap't Lou 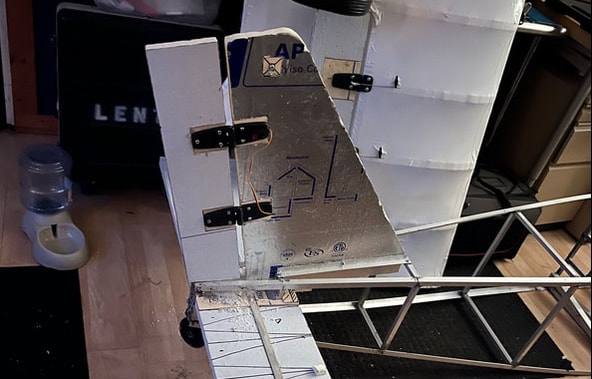 Dear Aviator Fellows,
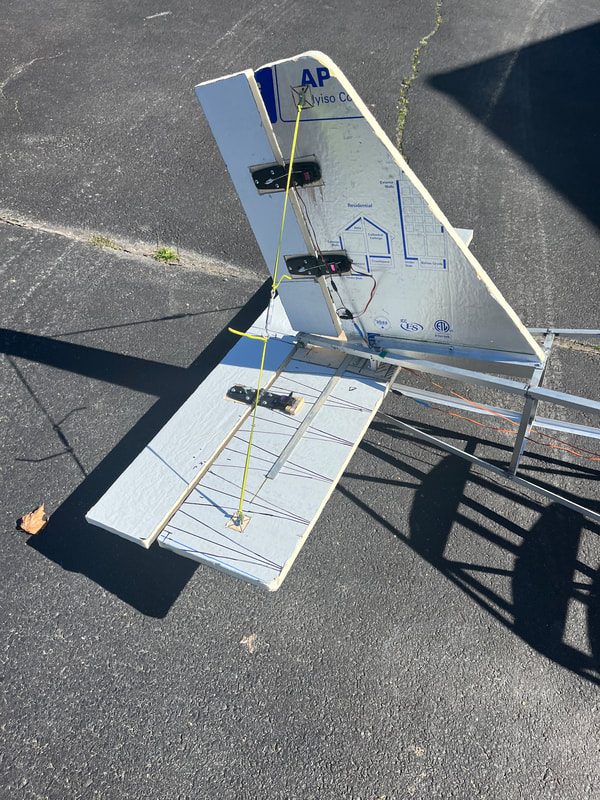
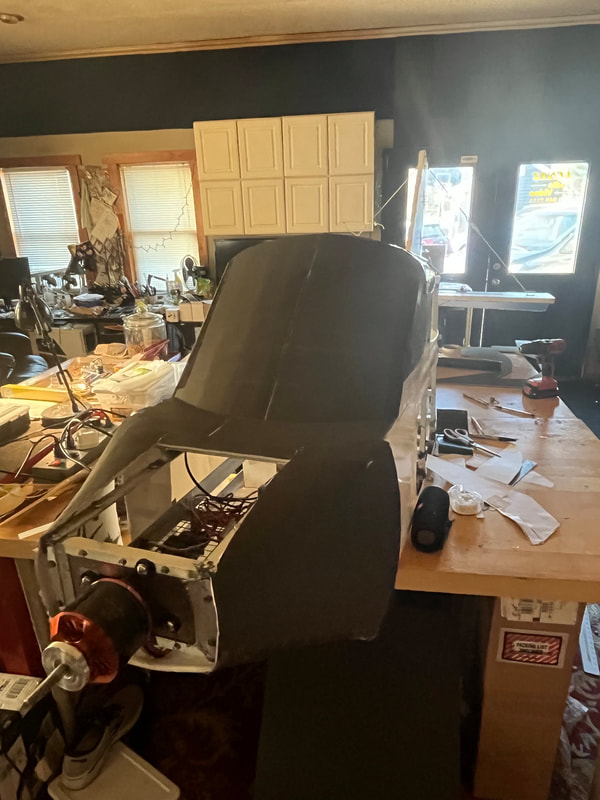
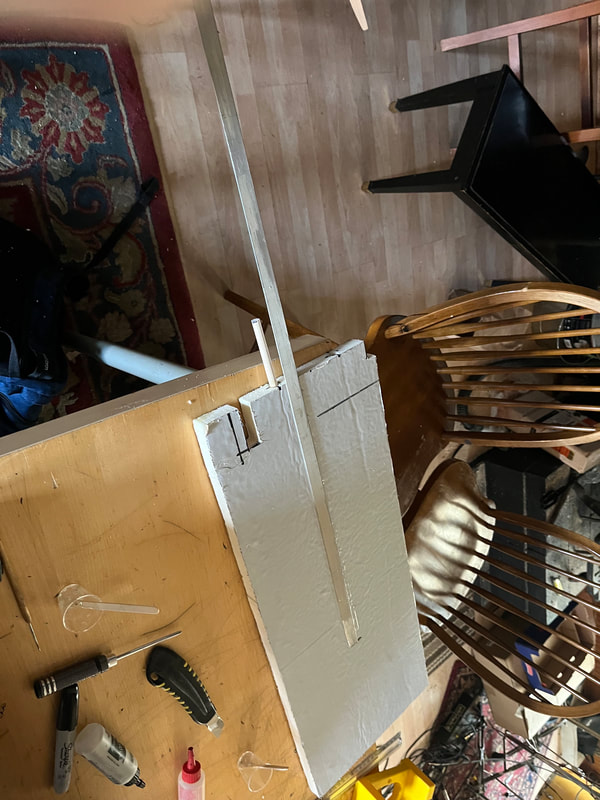
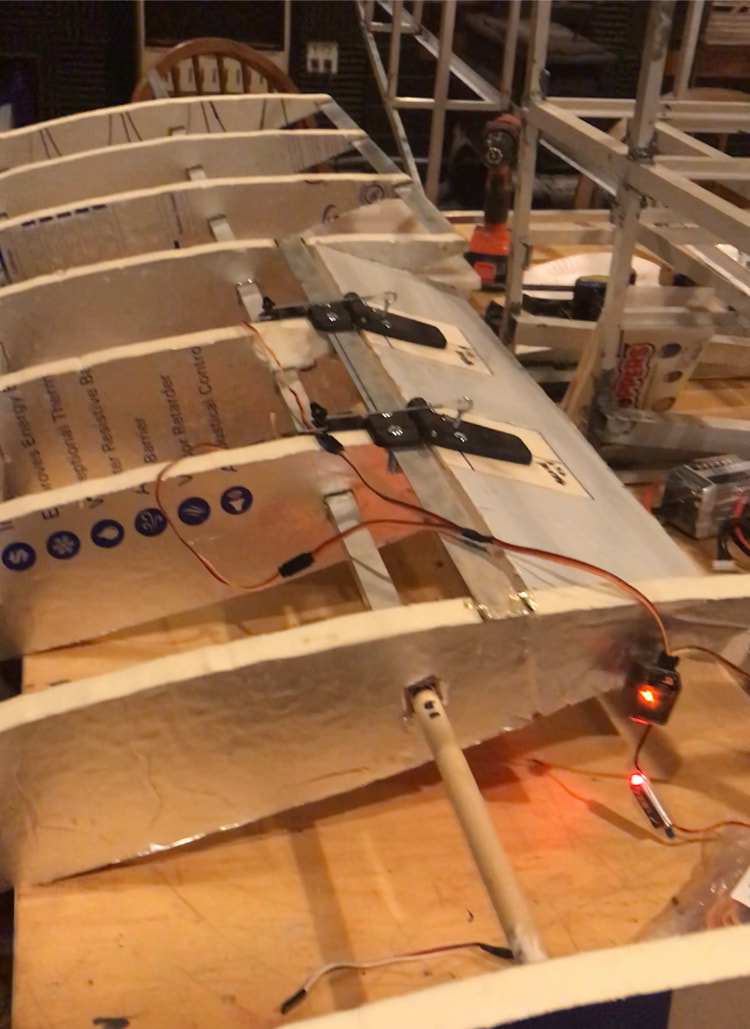
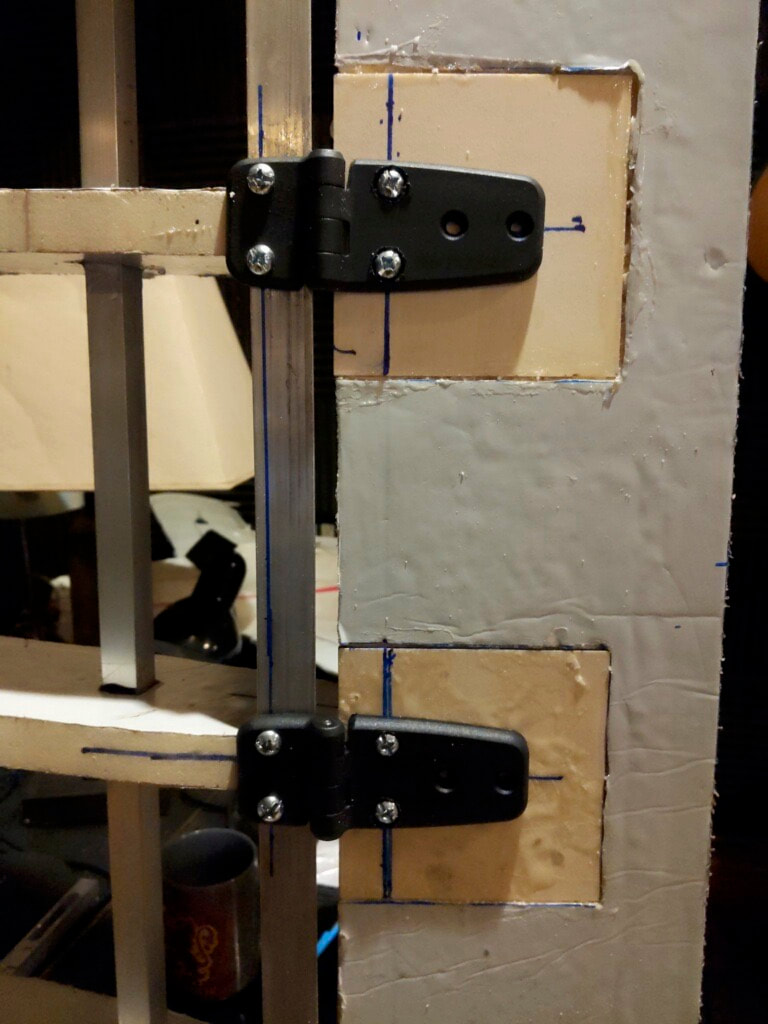
It's official, we can steer!! After installing the rudder servos, carving out the slots for the hinges, and installing the control rods, we finally have a functional Rudder configuration! With a functional tail wheel, we will be able to taxi the plane with control on the ground (yaw control). The steps for next week are to install the elevator and fix the back wheel. With those behind us, we will be able to taxi and test the entire plane on the ground. If that goes well, we'll move on to the decoration of plane and finally to the maiden flight date. Stay up there, - Capt. Louie That's right aviators, it's another full text blog post:
As of right now, I have established a flight plan for the coming weeks of my project, charted an optimal glide slope for construction on the plane to wind down, and have BIG plans to land right on time for the April Maiden Voyage (known from this point forwards as AMV). Here is the plan week-by-week up to the plane's estimated flight date: February 19 – Finish Constructing Tail Assembly February 26 – Fix tailwheel, Configure Batter compartment, Taxi the plane with all control surfaces March 5 – Cut-out all Bulkheads, announce the winner of the plane design March 12 – Install Bulkheads and Foam Formers, buy Stringers March 19 – Install Stringers and Cover the plane!! March 26 – Paint the plane design from the winning contest April 2 – Pick a flight date in the next week!! So, by April 9, we will have successfully flown (or crashed) the airplane and will be ready to display the results to the upper school!! Stay up there, – Cap't Lou Dear altitude enthusiasts,
This is your captain speaking: We have so many new exciting developments on the project that I think a paragraph format would be too confusing, so here’s what I have done in the past two weeks in bullets.
The sheer volume of work I invested in these past two weeks is directly related to College Applications. Now that ALL college apps are out of the way, I’ve had time to work on the plane every weekend and my work rate has skyrocketed as a result. Currently, the end of the project is within sight. After securing my horizontal and vertical stabilizers and installing control surfaces for my rudder and elevator, the plane will be ready to fly!! HOWEVER, in terms of decoration, there is still a lot of work to be done. I plan on releasing a contest for the design of the plane (open to all severn students) during an upcoming morning meeting. I’ll hand out papers with the outline of the plane on it and everyone will get a chance to draw their own design and turn it in. The winner (which I will decide) will get the choice to paint the plane themselves or have me paint the design for them. That’s all for now, Cap’n Louie Ladies and Gentlemen of the air,
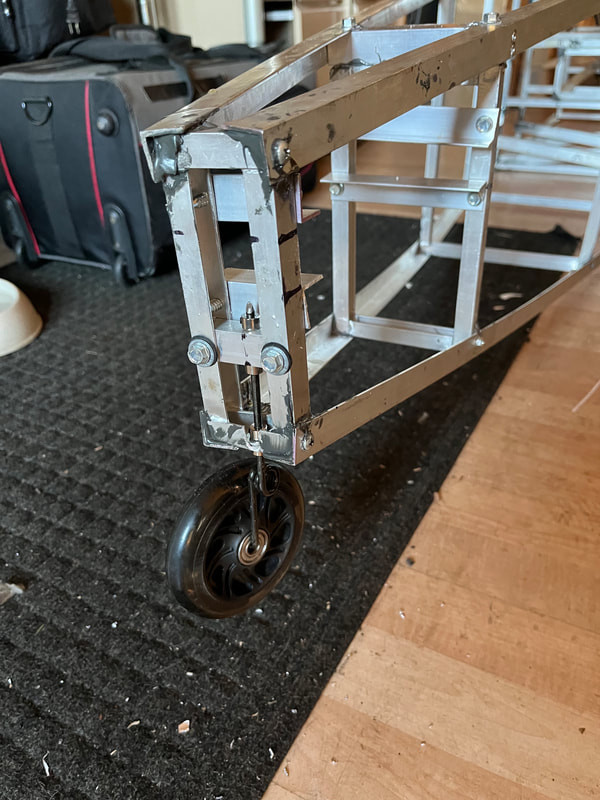
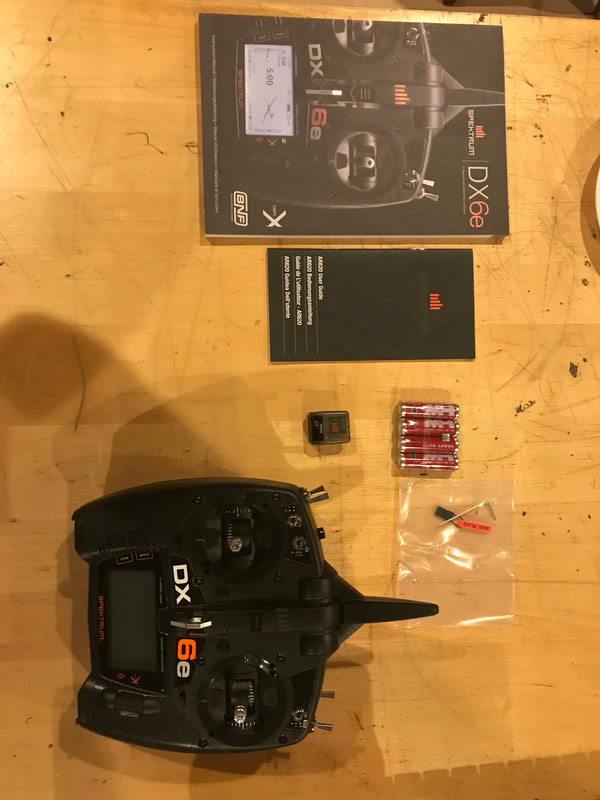
It's been too long. Much has happened in the past 18 days. First off - because the transmitter and receiver came in, I have been able to reboot construction on the wing and finally get the project back up and running! As of today, I have soldered a new 6 ft wire through the left wing, secured the servos to the left wing spars, and covered that entire portion of the plane with our boat film and polymer tape. The left wing is now fully complete (and currently able to produce lift) with working ailerons and a functional landing gear. I also got a chance to speak with my in-school advisor who suggested some much-needed safety precautions (like taking the propeller off of the motor, wearing goggles, revving up the engine outside only, etc.). After I replicate this process with the right wing (safely), and install the empennage of the aircraft (to be done over Winter Break), it will be time to move on to the detail-oriented work of the plane! I plan to introduce an exciting event in the next few upcoming morning meetings so get ready and stay tuned. Happy Holidays, Sincerely, Capt. Louie G'Day Aviators,
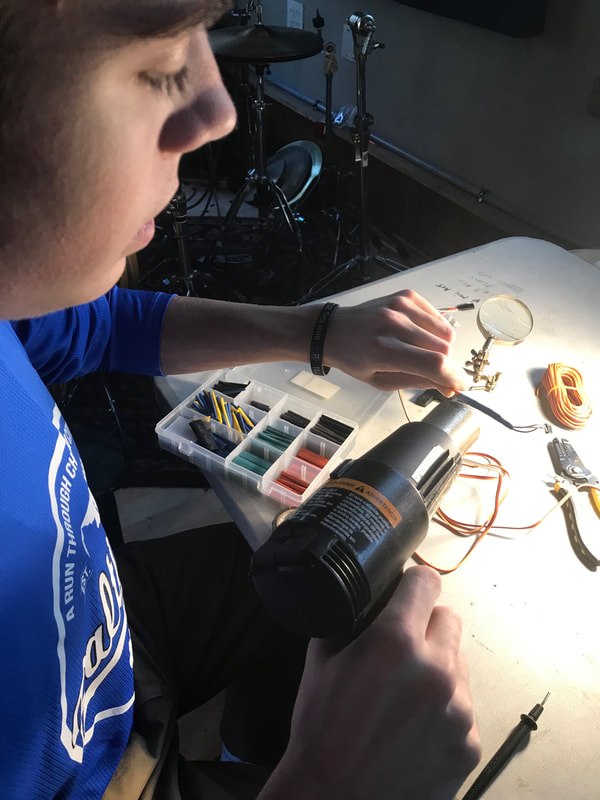
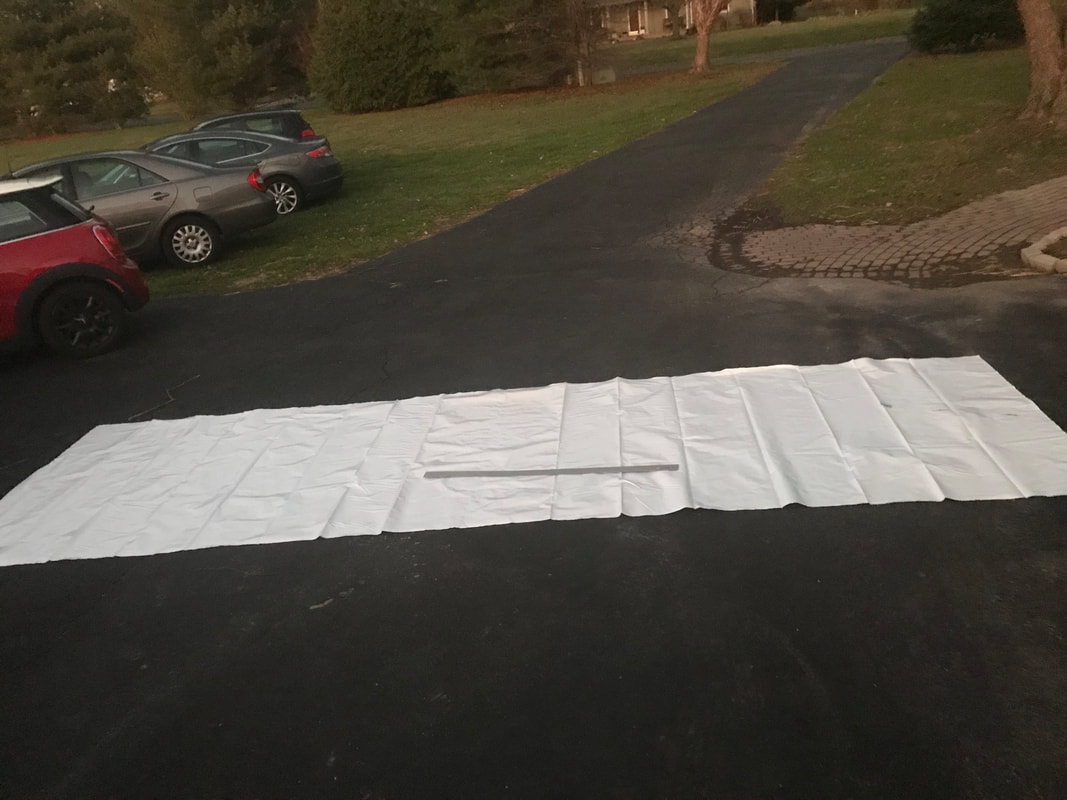
That's right: there are no pictures in this blog post (I'll explain later on). The one big development of the past two weeks is truly and utterly groundbreaking: tape. FINALLY, we have found a solution to our terrible Polyethylene problem that will allow us to KEEP the materials I've purchased without having to buy extremely expensive, difficult-to-work-with, professional-grade fabrics. The next few steps of the process are to install the servos into the wing, test them, and seal them using the polyethylene and a new highly-adhesive white tape that won't leave a large seam and will provide the strength we need to get this plane airborne! And, finally, with these steps, we will put an end to our wing construction. However, because we are still waiting on the transmitter and receiver of the plane to arrive, I will begin to shift my focus towards the control surfaces of the empennage (or tail) of the aircraft and plan to have that portion finished by the end of winter break. More next time, Sincerely, Louie Lentz Ladies, Gentlemen, People of the air,
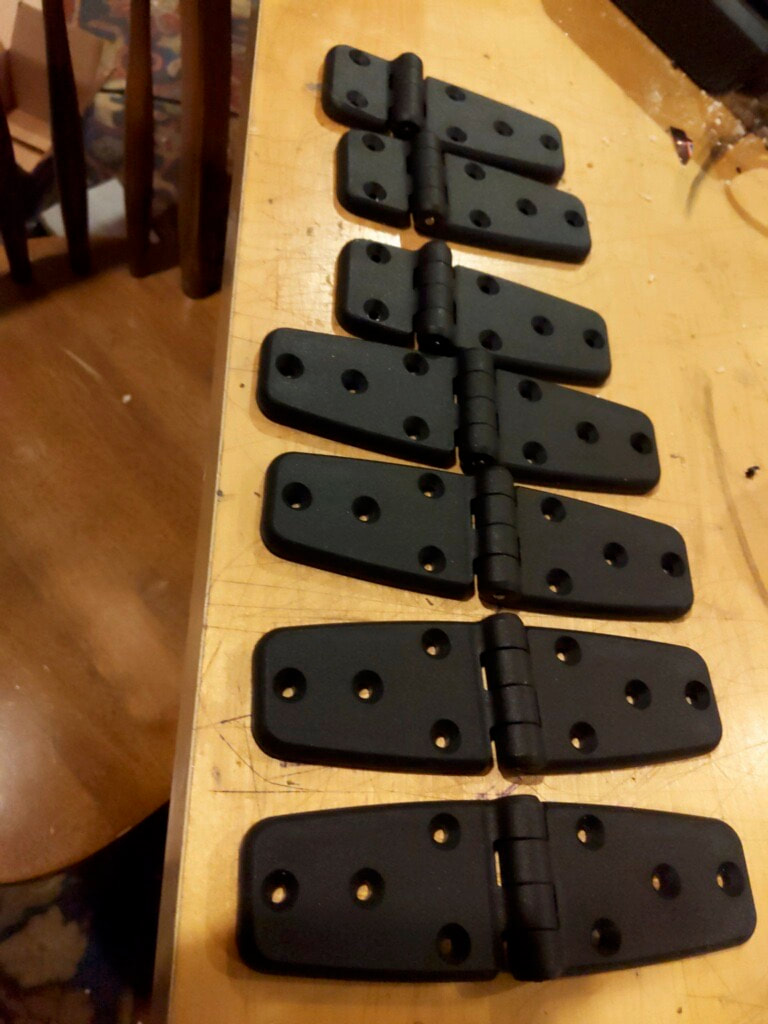
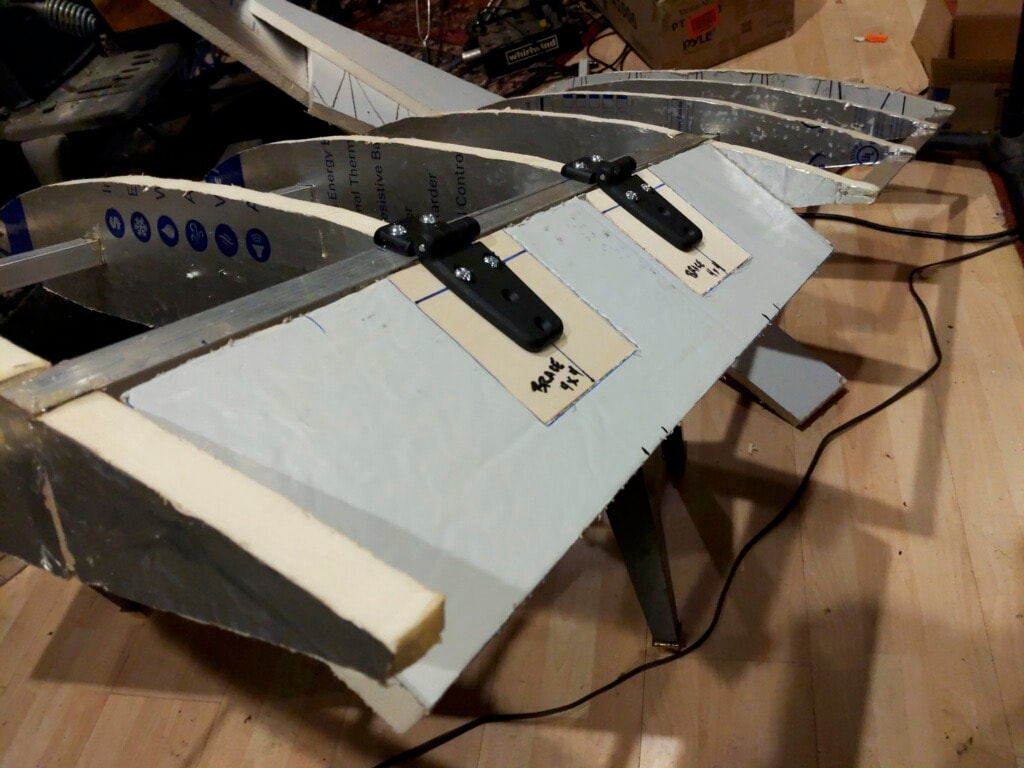
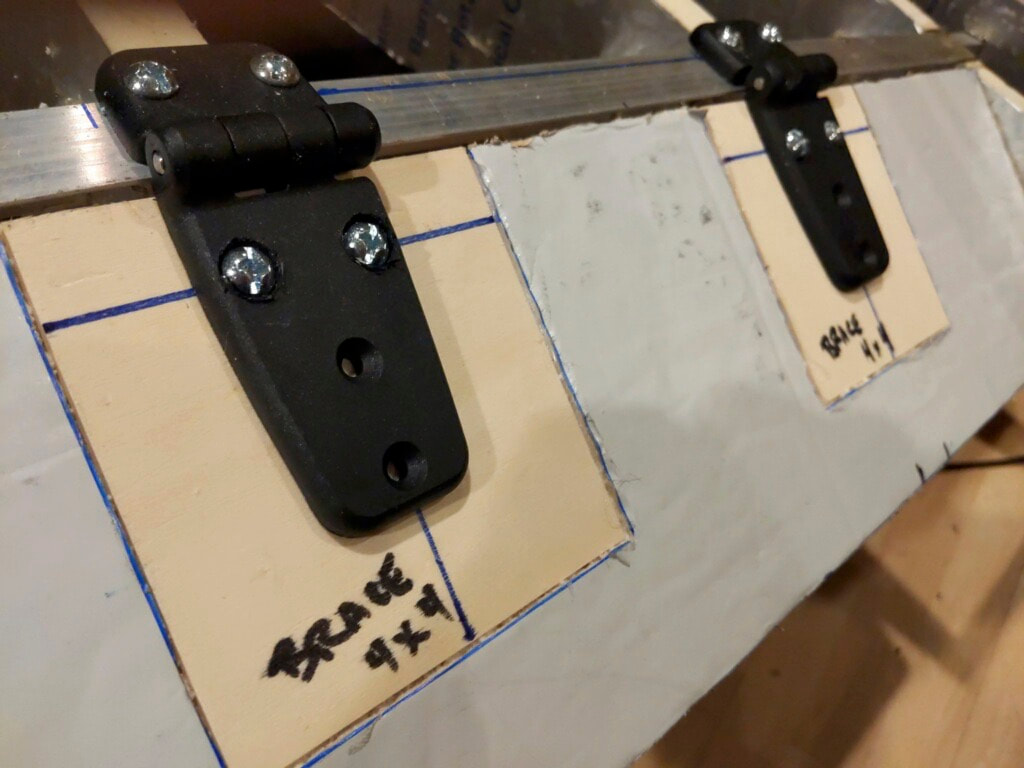
It's official. We can turn . . . kind of. Over the past two weeks, I have been working on the finishing touches of the ailerons. I used the 1" rib foam and 4"x4" wood panels to construct the ailerons, making sure they'd be strong enough to handle the air resistance I will force them through. I then bolted the hinges of the wing onto the ailerons (with some difficulty in trying to get a perfectly square fit) so they could move freely. I bevelled the ailerons to give them a greater range of motion and now only have to attach the servo arms to the hinges via a thumbscrew (acting as the control horns) to complete the apparatus. When the receiver and transmitter come in, I will be able to test the strength of our servos and see exactly which servo-mounting adhesive to use. Here is a video showing (to a great extent) how the aileron has been mounted to the wing: vimeo.com/772252401/75ac654c4a Till' later, Sincerely, Cap'n Louie |